Webservices part II – Cloud-init , Docker and Dockerfile
As described last time, the plan is to automate the creation of one single VPS, hosting multiple websites or webapps. We’re putting these sites or apps in containers and distribute the incoming requests with a cloud native reversed proxy. Since I’ll be introducing quite a lot of new technologies in this Greater blog series, I’ve dividing this into four posts.

Last time
Last time we were able to check off a couple of things of our list. This is where we are at:

user_data parameter to the digitalocean_droplet resource, creating a droplet we can actually work with.
Remember that for Terraform your best friend is the documentation. For the structure and keys for our DO setup, check out the provider’s docs and for the possible values the API reference guide.
So, for today, I’ll expand more on the user_data and cloud-init, and cover a lot of things theoretically and practically for Docker and Docker compose. user_data we’ve been setting up. I know I’m repeating myself here, but for completeness’ sake I’m adding the entire digitalocean_droplet block as we set up last time.
					# Create a new Web droplet for our multisite project in the Amsterdam region
resource "digitalocean_droplet" "web01" {
  image     = "ubuntu-20-04-x64"
  name      = "web01"
  region    = var.region
  size      = var.size
  tags      = var.tags
  backups   = var.backup
  ssh_keys  = [digitalocean_ssh_key.henk_batelaan.fingerprint]
  user_data = <<EOF
#cloud-config
apt:
  sources:
    docker.list:
      source: deb [arch=amd64] https://download.docker.com/linux/ubuntu $RELEASE stable
      keyid: 9DC858229FC7DD38854AE2D88D81803C0EBFCD88
groups:
  - docker
users:
  - name: cloud_deploy
    ssh-authorized-keys:
      - ssh-rsa <removed actual key, insert your own public key>
    sudo: ['ALL=(ALL) NOPASSWD:ALL']
    groups: [sudo, docker]
    shell: /bin/bash
packages:
  - apt-transport-https
  - ca-certificates
  - containerd.io
  - curl
  - gnupg-agent
  - dnsutils
  - docker-ce
  - docker-ce-cli
  - git
  - jq
  - nmap
  - psmisc
  - screen
  - ufw
  - vim
package_update: true
package_upgrade: true
write_files:
  - path: /etc/ssh/sshd_config
    content: |
      PrintMotd no
      Banner none
      HostKey /etc/ssh/ssh_host_rsa_key
      HostKey /etc/ssh/ssh_host_ecdsa_key
      HostKey /etc/ssh/ssh_host_ed25519_key
      SyslogFacility AUTHPRIV
      LogLevel VERBOSE
      PermitRootLogin no
      MaxAuthTries 3
      MaxSessions 2
      AuthorizedKeysFile .ssh/authorized_keys
      PasswordAuthentication no
      ChallengeResponseAuthentication no
      GSSAPIAuthentication no
      GSSAPICleanupCredentials no
      UsePAM yes
      AllowAgentForwarding no
      AllowTcpForwarding no
      X11Forwarding no
      TCPKeepAlive no
      Compression no
      ClientAliveCountMax 2
      UseDNS no
      AcceptEnv LANG LC_CTYPE LC_NUMERIC LC_TIME LC_COLLATE LC_MONETARY LC_MESSAGES
      AcceptEnv LC_PAPER LC_NAME LC_ADDRESS LC_TELEPHONE LC_MEASUREMENT
      AcceptEnv LC_IDENTIFICATION LC_ALL LANGUAGE
      AcceptEnv XMODIFIERS
      Subsystem sftp /usr/lib/openssh/sftp-server
runcmd:
  - apt-get update
  - timedatectl set-timezone Europe/Amsterdam
  - timedatectl set-ntp on
  - ufw allow 22/tcp
  - ufw enable
  - sed -i -e '/pam_motd.so/s/^/# /g' /etc/pam.d/sshd
  - sed -i -e '/#startup_message/s/^#//' /etc/screenrc
  - wget https://github.com/docker/compose/releases/download/v2.2.2/docker-compose-linux-x86_64
  - mv docker-compose-linux-x86_64 docker-compose
  - chmod +x docker-compose
  - mkdir -p /usr/local/lib/docker/cli-plugins
  - mv docker-compose /usr/local/lib/docker/cli-plugins
  - reboot EOF
}
user data block, used my many cloud providers, accepts cloud-init syntax to setup, and configure your instance. Read more info and useful examples at the documentation.
Explanation on our user_data block:
EOF. The <EOF – EOF (End of File) markers you might be familiar with, you might not, but these simply mark the input for the user_data parameter. Officially this is called a ‘heredoc’ or ‘Here document’apt. We’re adding the Docker repository with the proper signing key. This part I’ll normally (probably) do with an Ansible role, but it will do for our little projectgroups. Add the docker groupusers. Add an initial admin user. By default, on this type of instance there is only the root userpackages. Install the software we need, including Docker. Docker compose is a special case, more info on that laterpackage_update/upgrade. Make sure we’re running the latest softwarewrite_files. Drops the sshd_config, replacing the default one, and making the SSH daemon way more secure (no root login, only SSH key login e.g.)runcmd. Run arbitrary commands, cleaning things up, enabling a firewall, installing Docker compose, etc.
Docker
Docker popularized containers big time. As many don’t know though, is that it is certainly not the granddaddy of containers. The basis of Docker Inc. was laid in 2008 and the roots of containers go way back to 1979. Maybe I’ll do a post only on containers someday.

cloud-init. For our project it is fine, and it is good to show some of the capabilities, but you would normally install this via, for example, an Ansible role.
Docker the software consists of 3 main pieces which, again, many don’t know but is essential.
- The Docker daemon. This runs continuously in the background, managing all Docker objects
- The Docker rest API. This is the interface Docker clients use to talk to the Docker daemon, giving instructions to the daemon
- The Docker CLI, or the Docker client if you will. With the Docker CLI you’re giving the commands. The CLI interacts with the API, which talks to the daemon

docker psdocker container ls). These are both doing the same thing, but when you’re learning, I like the full command more, because you can see that every command is constructed in the same way.
First check out the various ways how you can get your hands on Docker in case you’re not using the cloud-init script. Then we can fire away with some commands. Show Docker info and used disk space:
$ docker system info && docker system df
List all running containers (replace ‘container’ with ‘image’, ‘volume’ or ‘network’, to see these):
$ docker container ls
List all containers, including stopped ones:
$ docker container ls -a
Start a container in the background so I can show you how to interact with it.
$ docker container run -d nginx
-d flag is to run it in detached (background mode). Do a docker container ls again to check the status. 
We can interact with the container in multiple ways. First, we can use the autogenerated name. For instance, to stop this running container:
$ docker container stop affectionate_proskuriakova
And second, we can use part of the container ID. I always use 3 or 4 characters, but 2 can work as well, as long as they’re unique among all running containers. Let’s start this baby up again:
$ docker container start 2476
As a side node, you can also specify the container name while starting your container and then interact with that name:
					$ docker container run -d --name my_nginx_test nginx
$ docker container restart my_nginx_test
$ docker container rename my_nginx_test renamed_nginx
$ docker container logs renamed_nginx
--help option. For instance:
					$ docker container --help
$ docker container run --help
$ docker volume --help
$ docker image --help

So, no need to cover all possible commands here in this post. Besides everything already covered, there is 3 tips left to discuss, before moving on to the next topic.
First one: take a detailed look at a running container:
$ docker container inspect renamed_nginx
bash should be included as a binary in the container for this to work, else try sh):
					$ docker container exec -it renamed_nginx bash
# ls -al
# exit
Third one: start a container, for instance for troubleshooting something further down the line, and when done and exit out of the container, immediately remove the container:
					$ docker container run --rm -it ubuntu bash
# ls -al
# ps -ef
# exit
$ docker container ls -a
This reminds me of a thinking flaw every beginning container user seems to have. A container has one main process. In the case of our Nginx example, it is:
/docker-entrypoint.sh nginx -g 'daemon off;'
You can check this in a couple of ways, e.g.
					$ docker container inspect renamed_nginx | head
$ docker container ls -a --no-trunc
This main process keeps running the Nginx process until someone or something gracefully stops it, or it crashes. Now when we, for instance, run an Ubuntu container in the same way we started the Nginx container earlier:
					$ docker container run -d –name myubuntu ubuntu
$ docker container ls

bash) and exited.
Check it out with a
$ docker container ls -a --no-trunc
docker compose is the next step.
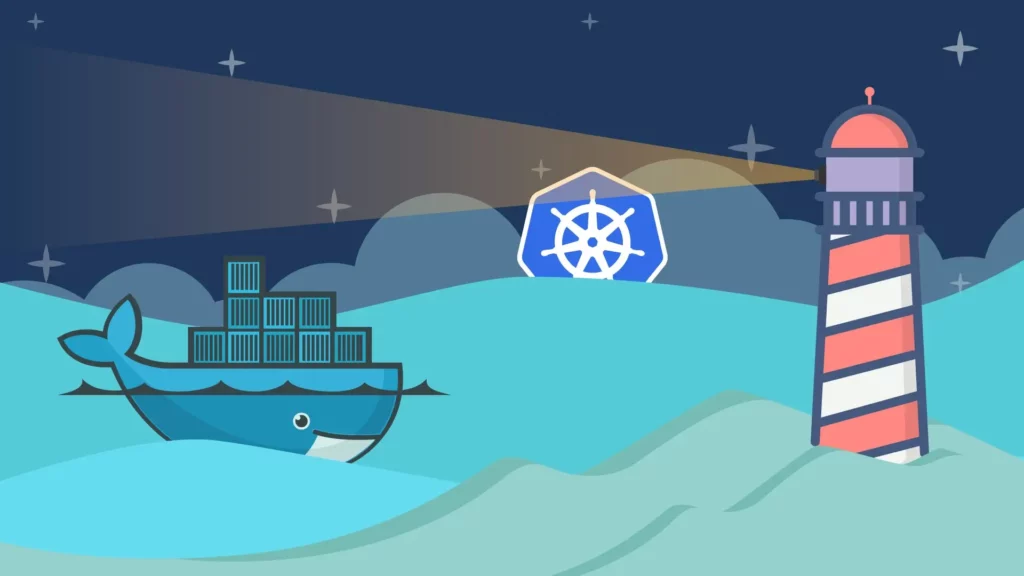
Now before we go on and people want to burn me at the stake, I want to make it clear that I do know there is a little thing called Kubernetes, which I am a huge fan of and use daily. This is the go-to software when you want to run and orchestrate A LOT of containers. But for our use case, and general technical knowledge, ‘docker compose’ is more than enough. 
- In my opinion it really deserves a post on its own because of all the possibilities
- Personally, I find myself rarely creating Dockerfiles anymore because there is so much out there already
- You put your config in a file called
Dockerfile - You build and push your image to your repository
$ docker build -t my.repo.com/mycoolapp:1.0.0
- When you’re dealing with multiple Dockerfiles or your Dockerfile is not named as such, you’ll need the
-fflag to specify what you want to build - The build/push process is often done in two different steps instead of the one above
- Especially in pipelines you can perform a lot of magic with version tagging and basing other steps on a specific version

But these are some details you can easily experiment with on your own and depends on your need and/or pipeline specification.
For now, I would like to focus on some of the most important options you have in your Dockerfile. Easiest is to do this with an example file:
					ARG VERSION=1.21.5
FROM nginx:$VERSION
LABEL maintainer=henk@greater.nl
LABEL appversion="1.0.0"

ENV MYSITE="My Docker site"
ENV MYVAR="Value1"
ENV HTTP_PROXY="http://proxy.domain.com"
ENV HTTPS_PROXY="https://proxy.domain.com"

USER root
RUN apt update -y && apt install -y \
  curl \
  wget \
  git \
  && apt clean \
  && rm -rf /var/lib/apt/lists/* /tmp/* /var/tmp/*
RUN bash -c "mkdir -p /usr/share/nginx/html/{images,text,videos}"

ADD ./files/nginx.conf /etc/nginx/
COPY ./files/index.html /usr/share/nginx/html/
EXPOSE 80/tcp
EXPOSE 443/tcp

WORKDIR /usr/share/nginx/html/
CMD ["nginx", "-g", "daemon off;"]
ARG. These are used to pass arguments during build time and are not accessible after building. When you want to use anARGin theFROM, you’ll have to put it beforeFROM, like I did. You can actually do A LOT with ARGsFROM. This specifies where you are basing your custom image on. Preferably it is as small as possible, like an Alpine distribution (not used in this example though). It’s rarely OK to use something like CentOS or Ubuntu. Also, as a best practice, don’t use thelatesttag but specify the versionLABEL. Some of a free form field. You can put about anything in there. This shows up on adocker inspectand can be used in all sorts of clever waysENV. Specifies environment variables that are available in the running container based on your imageUSER. No need to specify it here because this image is already run as root, but I wanted to showcase it. You can switch users multiple times during build and can come in handy in several waysRUN. Run commands during build process. I put in two examples. Installing stuff is often used and at the same time should be as sparsely used as possible, because your image will get too large otherwise. Always use the ‘update’ and ‘install’ in the same run command and remove the cacheADD. In my working directory with this Dockerfile, I’ve created a folderfiles. In it are thenginx.confconfiguration file and theindex.htmlwebpage. WithADDI add the first to the proper location and will be used for every container that is created from this imageCOPY. Is almost the same asADDwith a few differences, just look them up if you’re interested. I wanted to show both but believeCOPYis preferred to be used by defaultEXPOSE. Exposes the proper ports for your application. Does not mean that spinning up a container automagically means your app is reachable on these ports. They need to be mapped properly and this depends on your host config. Will be covered in the next blogs on this topicWORKDIR. Can also be used at several places in the build process. I put it in just to demo it. When you nowexecinto a container created from this image, you end up in the directory specified hereCMD. Of course the command that is run. There are several ways to specify this, but this is the best practice I’m pretty sure.ENTRYPOINTis another important one

There is many more and especially many, many optimization tips out there; how to create the smoothest and smallest image possible, but I want to leave it at this. I’ll give you some further material that I liked myself:
Yes, there’s still a lot of stuff going on in the Docker space.
Next week we’re going to orchestrate some containers with Docker compose!